构建场景
下面使用 PlayCanvas Web Components 逐步搭建简单三维场景,最终得到蓝天下放在地面上的彩色球体,并理解每行代码的作用。
各代码片段都给出页面 body 的完整内容。外围 import map、脚本标签和样式沿用入门。若已完成前一页,请清空原场景,我们将从头构建并继续扩展。
起点
先通过 <pc-app> 和 <pc-scene>,向 HTML body 添加应用基础结构。
<pc-app>
    <pc-scene>
    </pc-scene>
</pc-app>
这会创建空三维场景,但目前没有可见内容,还需要摄像机和对象。
始终写闭合标签,例如 <pc-camera></pc-camera>。HTML 自定义元素不支持自闭合;浏览器会将 <pc-camera /> 当作开始标签,后续内容都会嵌套进去。
添加摄像机
使用 <pc-entity> 和 <pc-camera> 添加摄像机,以观察场景。
<pc-app>
    <pc-scene>
        <pc-entity name="camera" position="0 0 5">
            <pc-camera></pc-camera>
        </pc-entity>
    </pc-scene>
</pc-app>
摄像机位于 Z 轴正方向 5 单位处,默认朝负 Z,因此正对原点。当前画面为纯灰色,即默认清屏颜色:

虽然只有灰色,但说明渲染器已经运行。
添加对象
通过 <pc-render> 添加球体,为场景提供可见对象。
<pc-app>
    <pc-scene>
        <pc-entity name="camera" position="0 0 5">
            <pc-camera></pc-camera>
        </pc-entity>
        <pc-entity name="sphere">
            <pc-render type="sphere"></pc-render>
        </pc-entity>
    </pc-scene>
</pc-app>
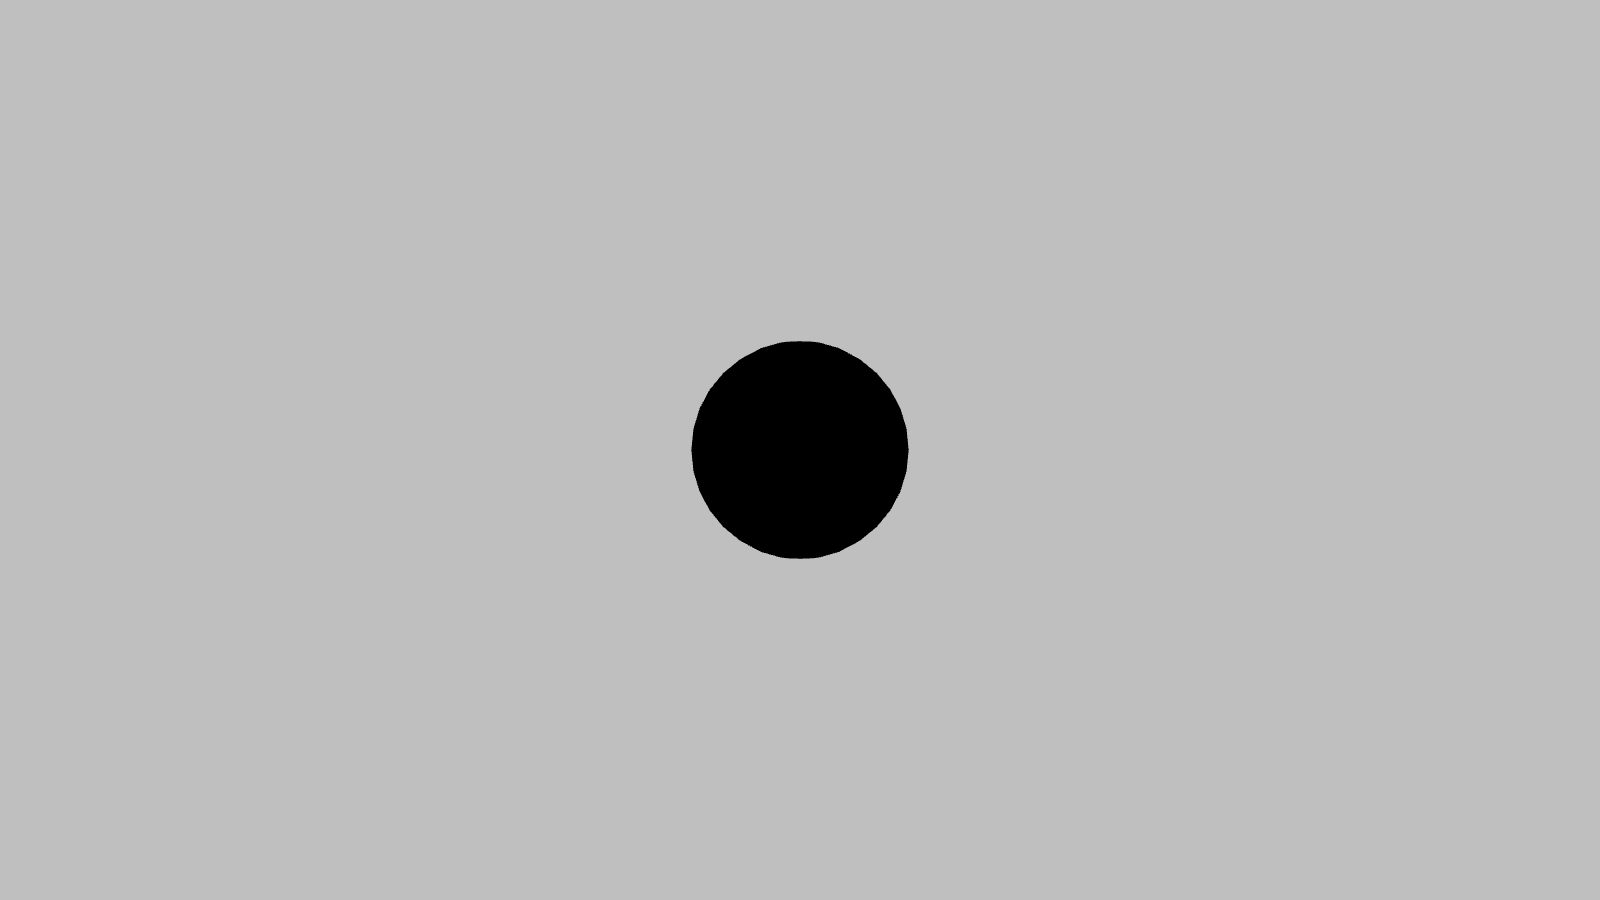
屏幕中央出现黑色圆盘。球体已存在,但场景没有灯光,表面没有照明,因此显示为黑色轮廓:
添加灯光
使用 <pc-light>,在摄像机和球体之间添加平行光。
<pc-app>
    <pc-scene>
        <pc-entity name="camera" position="0 0 5">
            <pc-camera></pc-camera>
        </pc-entity>
        <pc-entity name="light" rotation="45 45 0">
            <pc-light type="directional"></pc-light>
        </pc-entity>
        <pc-entity name="sphere">
            <pc-render type="sphere"></pc-render>
        </pc-entity>
    </pc-scene>
</pc-app>
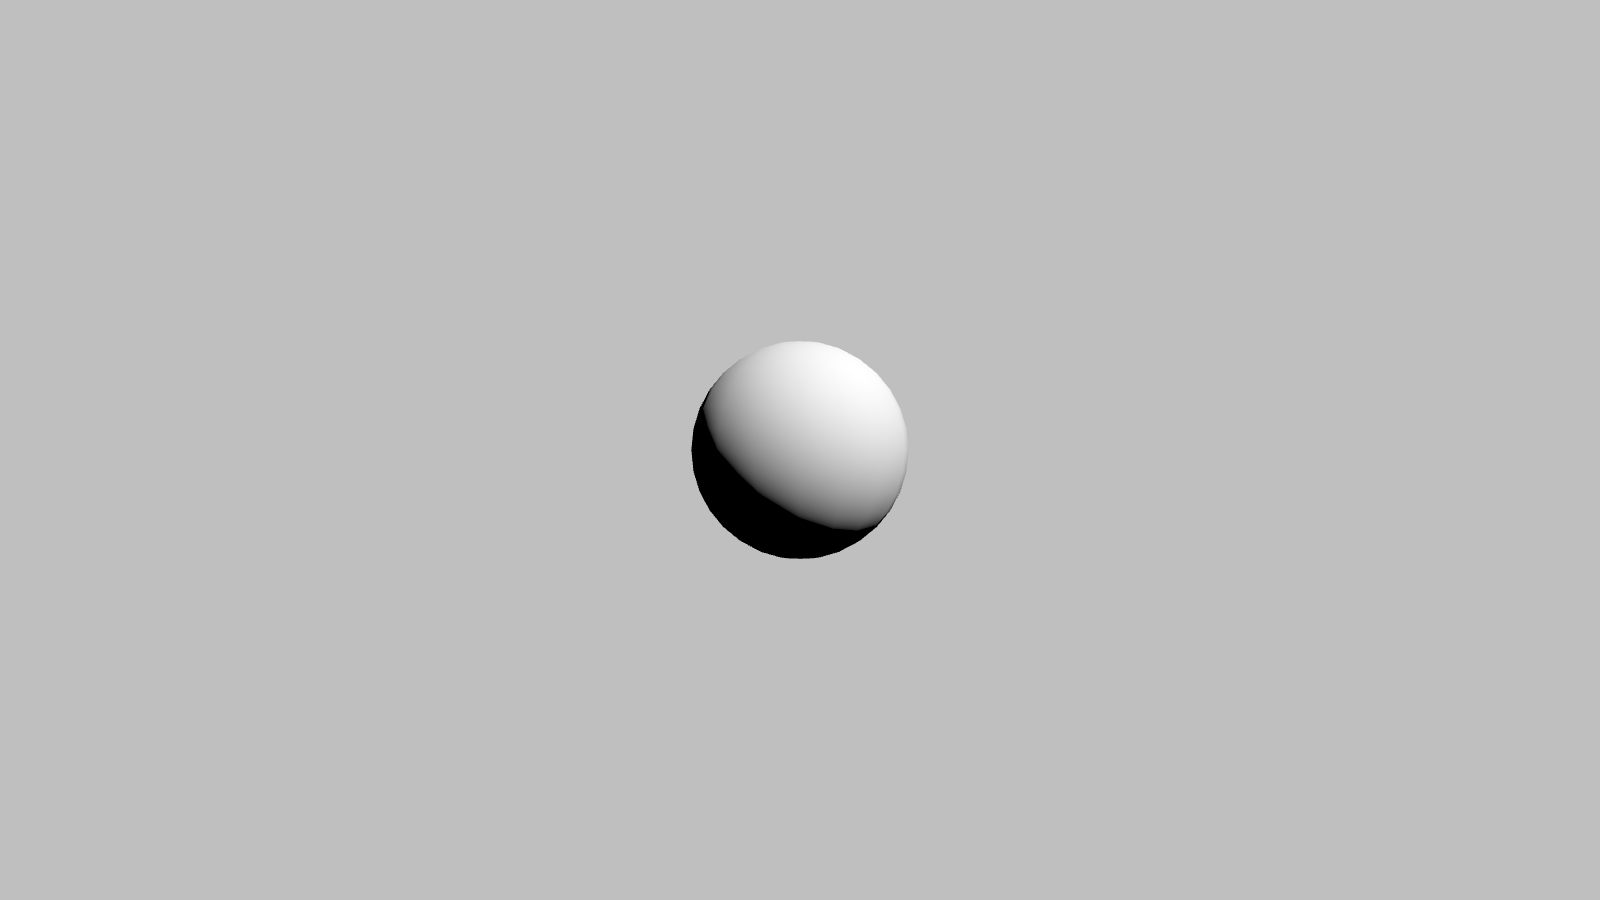
将灯光旋转为斜向下照射,比正面照明更有立体感。球体现在有了明暗:
添加颜色
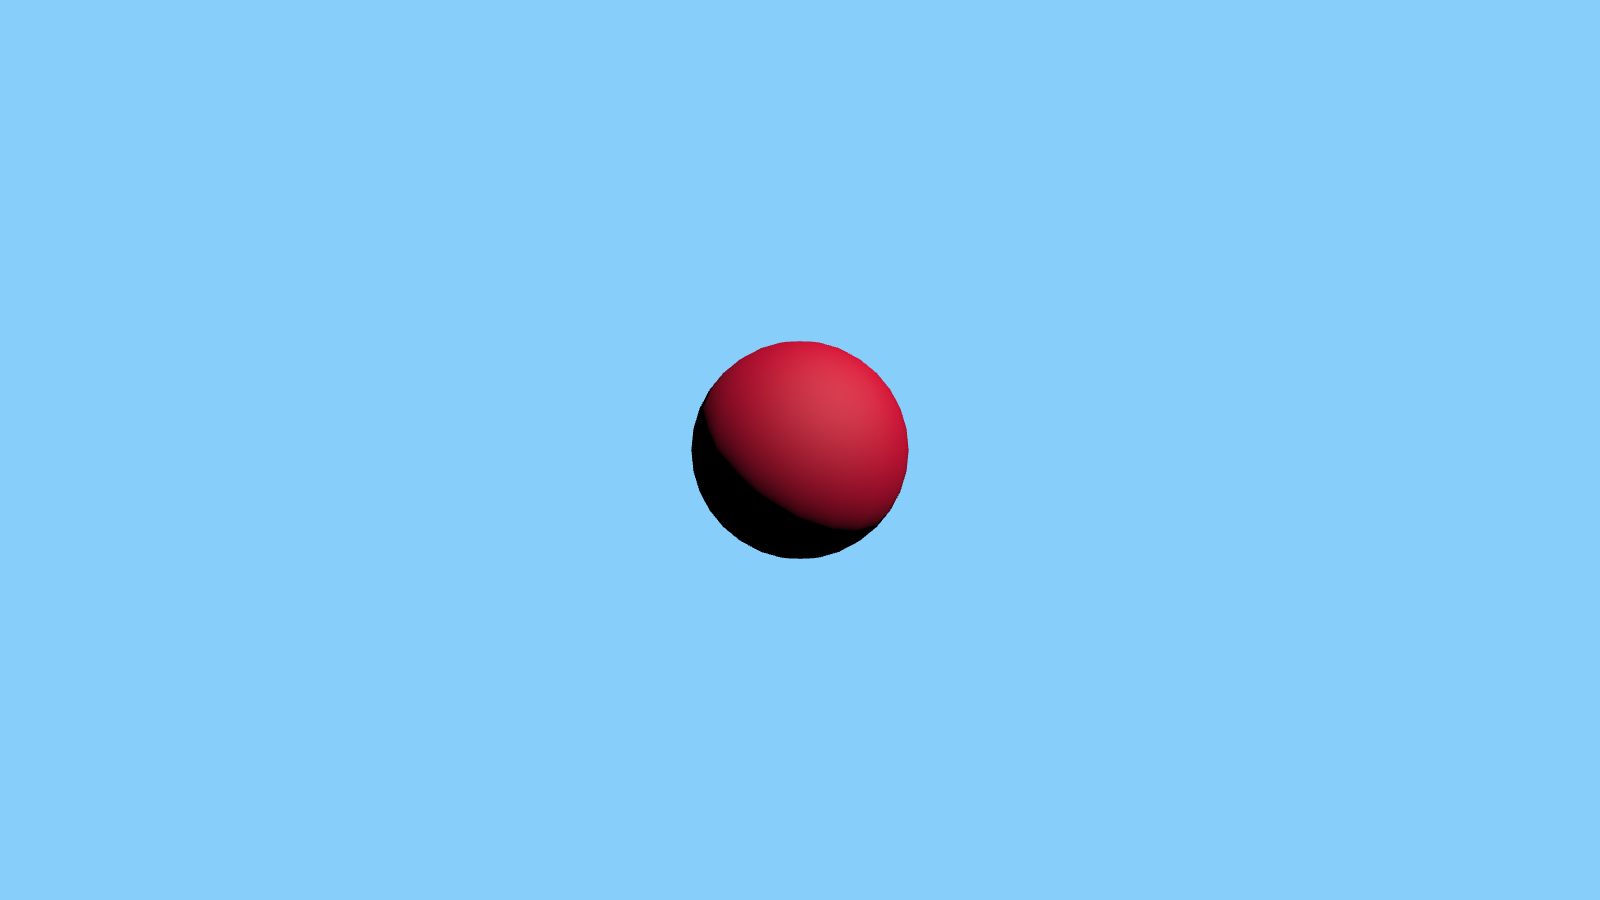
目前都使用默认值,即白色材质和灰色背景。通过 <pc-material> 定义材质,直接放在 <pc-app> 下,因为它是共享资源,而非某一场景的一部分。渲染组件通过 material 属性引用材质 id。同时使用摄像机的 clear-color 修改背景。
<pc-app>
    <pc-material id="crimson" diffuse="crimson"></pc-material>
    <pc-scene>
        <pc-entity name="camera" position="0 0 5">
            <pc-camera clear-color="lightskyblue"></pc-camera>
        </pc-entity>
        <pc-entity name="light" rotation="45 45 0">
            <pc-light type="directional"></pc-light>
        </pc-entity>
        <pc-entity name="sphere">
            <pc-render type="sphere" material="crimson"></pc-render>
        </pc-entity>
    </pc-scene>
</pc-app>
这里使用 CSS 颜色名称。颜色还支持十六进制和空格分隔数字,完整规则详见属性。
添加地面
为球体添加可落脚的地面:使用放大的 plane 图元和第二个材质。球体直径为 1,将其设为 position="0 0.5 0" 恰好落在平面上。抬高并倾斜摄像机以构图,为灯光添加 cast-shadows 生成阴影;这是存在即启用的布尔属性,详见属性。两个 bias 属性避免表面自阴影形成条纹,即阴影痤疮,详见修复阴影伪影。
<pc-app>
    <pc-material id="crimson" diffuse="crimson"></pc-material>
    <pc-material id="gray" diffuse="lightgray"></pc-material>
    <pc-scene>
        <pc-entity name="camera" position="0 1.5 6" rotation="-10 0 0">
            <pc-camera clear-color="lightskyblue"></pc-camera>
        </pc-entity>
        <pc-entity name="light" rotation="45 45 0">
            <pc-light type="directional" cast-shadows normal-offset-bias="0.05" shadow-bias="0.2"></pc-light>
        </pc-entity>
        <pc-entity name="sphere" position="0 0.5 0">
            <pc-render type="sphere" material="crimson"></pc-render>
        </pc-entity>
        <pc-entity name="ground" scale="8 1 8">
            <pc-render type="plane" material="gray"></pc-render>
        </pc-entity>
    </pc-scene>
</pc-app>
下面是最终场景的实时预览,标记与上述相同,编辑时会重新运行。
<pc-app>
    <pc-material id="crimson" diffuse="crimson"></pc-material>
    <pc-material id="gray" diffuse="lightgray"></pc-material>
    <pc-scene>
        <pc-entity name="camera" position="0 1.5 6" rotation="-10 0 0">
            <pc-camera clear-color="lightskyblue"></pc-camera>
        </pc-entity>
        <pc-entity name="light" rotation="45 45 0">
            <pc-light type="directional" cast-shadows normal-offset-bias="0.05" shadow-bias="0.2"></pc-light>
        </pc-entity>
        <pc-entity name="sphere" position="0 0.5 0">
            <pc-render type="sphere" material="crimson"></pc-render>
        </pc-entity>
        <pc-entity name="ground" scale="8 1 8">
            <pc-render type="plane" material="gray"></pc-render>
        </pc-entity>
    </pc-scene>
</pc-app>
可以尝试:
- 将灯光实体设为
rotation="70 45 0",模拟更低太阳,观察阴影拉长。 - 删除
normal-offset-bias和shadow-bias,观察它们所避免的阴影痤疮。 - 将球体
type改为"box",盒体尺寸同样为 1,因此仍恰好放在地上。
这就是一个完整场景:摄像机、灯光、几何体和材质,全部通过 HTML 组合。
元素层级
刚搭建的结构遵循所有 PlayCanvas Web Components 文档通用的规则:
pc-app ................... 应用
├── pc-material .......... 应用级资源,也包括 pc-asset
└── pc-scene ............. 实体层级根节点
    └── pc-entity ........ 场景图中的节点,实体可以嵌套
        └── pc-camera .... 赋予实体功能的组件
                           (也包括 pc-light、pc-render 等)
<pc-scene>、<pc-material>和<pc-asset>是<pc-app>的直接子项。<pc-entity>直接位于<pc-scene>或其他实体下,通过嵌套建立变换层级,position、rotation和scale均相对父项。<pc-camera>、<pc-light>和<pc-render>等组件标签直接位于实体下,为实体添加能力。- 元素放错位置时,控制台会警告正确位置,编写时建议保持控制台打开。各标签参考也列出放置规则。