用户界面:按钮
使用 Element 和 Button 组件创建的简单按钮。查看完整场景。
为应用构建界面时,几乎一定需要按钮。本教程演示如何使用内置 Element 实现按钮。
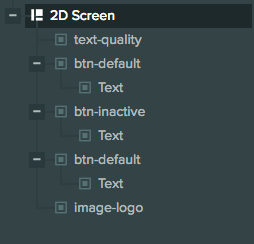
屏幕配置
屏幕配置如下:
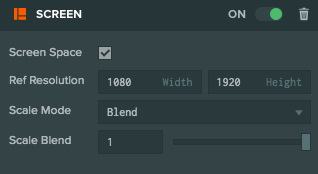
由于这是二维屏幕,我们勾选 Screen Space(屏幕空间)。Reference Resolution(参考分辨率)设为目标分辨率,本例为 1080 × 1920。Scale Mode(缩放模式)选择 Blend,使屏幕适应分辨率变化;Scale Blend(缩放混合)设为 1,使屏幕只根据高度变化缩放。
屏幕具有多个子级:顶部标志使用 Image 元素,SELECT QUALITY(选择画质)使用 Text 元素,另外还有三个按钮。
向界面添加按钮
可以通过两种方式向场景添加按钮。
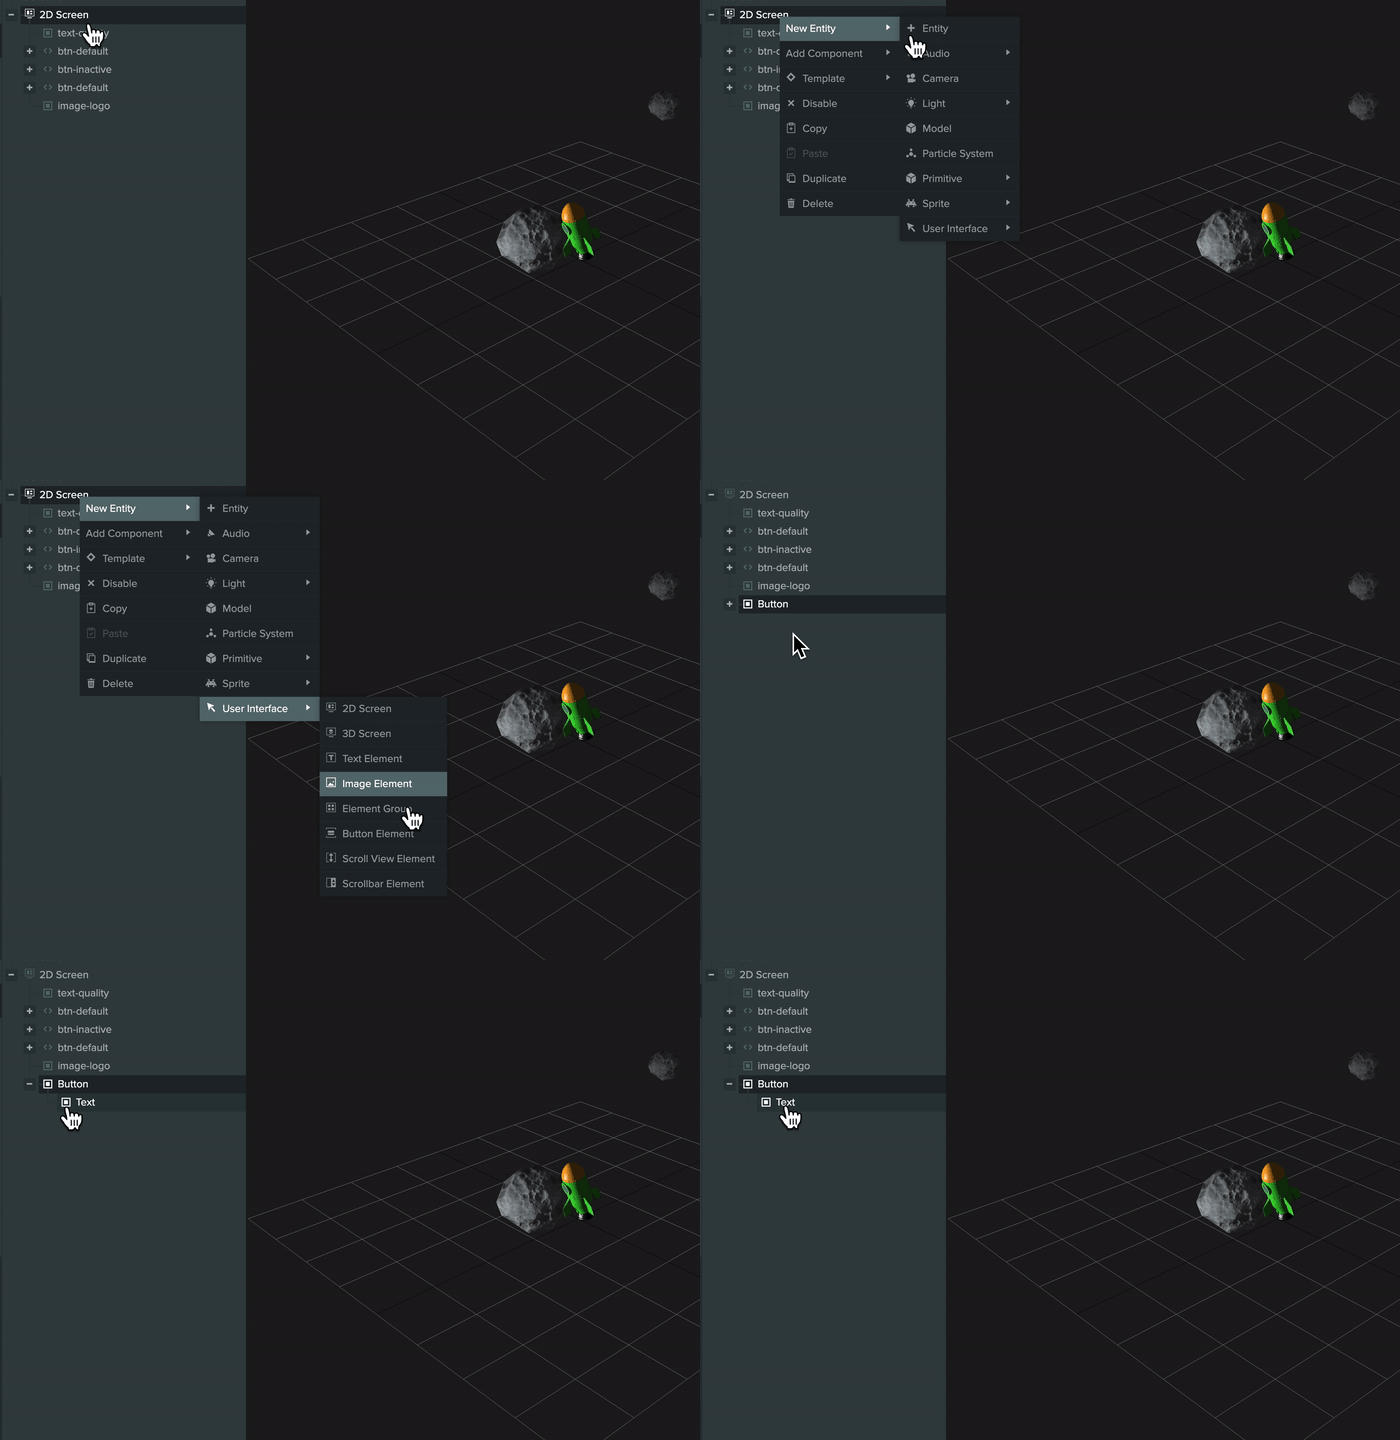
通过层级面板
这是最简单的方式,会创建所需实体与组件,并预先配置属性。
使用现有元素
如果想把现有 Element 转换为按钮,可以在检查器中为其添加 Button 组件并自行配置。
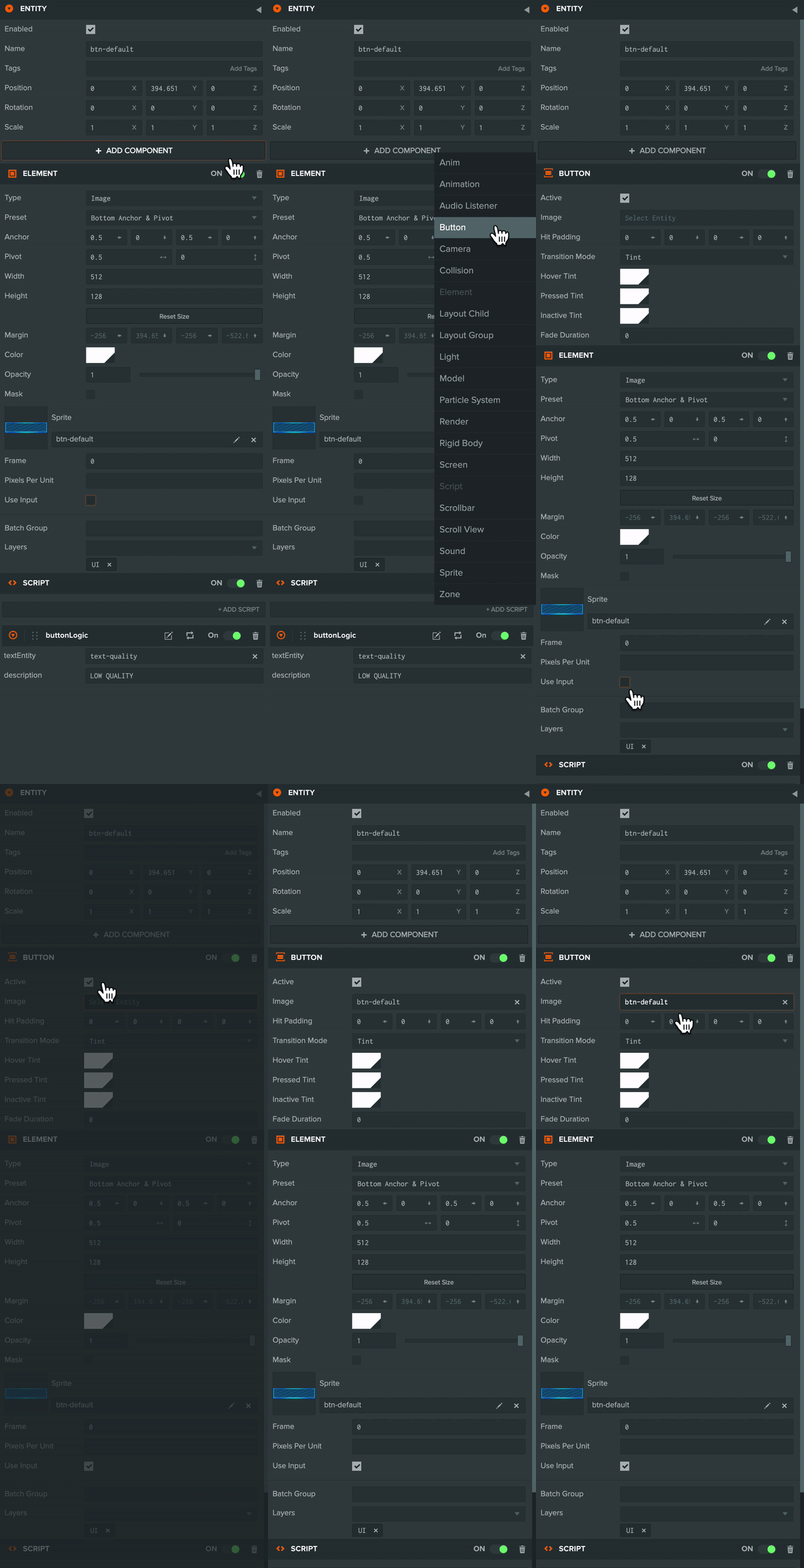
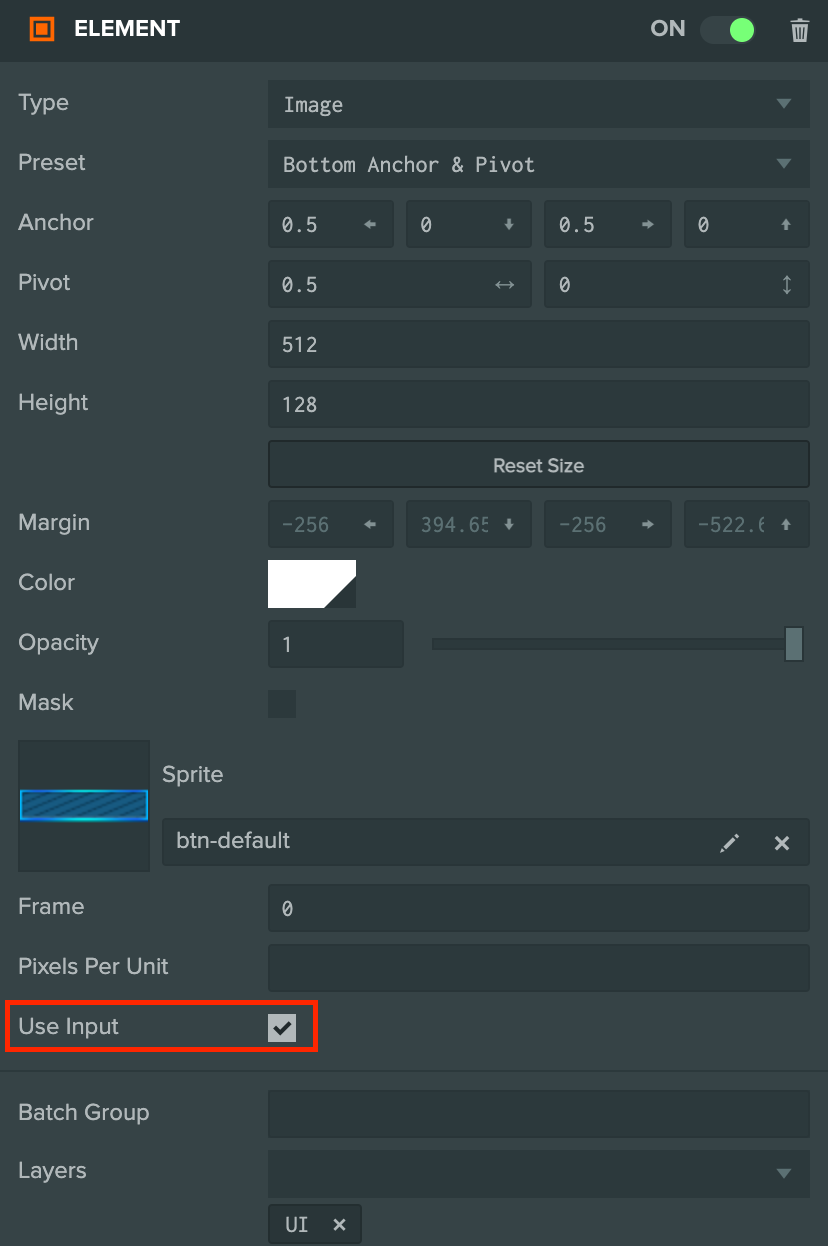
记得启用 Element 组件的 Use Input(使用输入),允许用户交互:
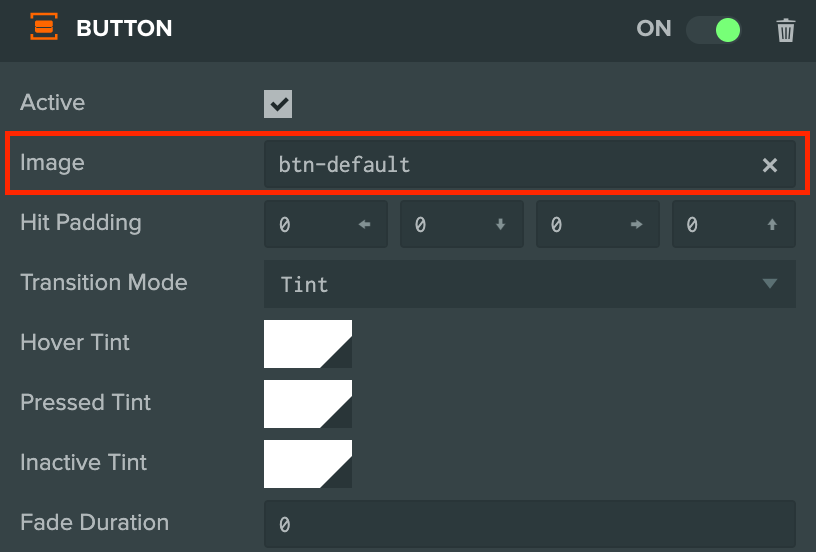
将 Button 组件的 Image Entity(图像实体)设为 Element 组件所在的同一实体。
按钮配置
下面详细看看示例项目中的第一个按钮:
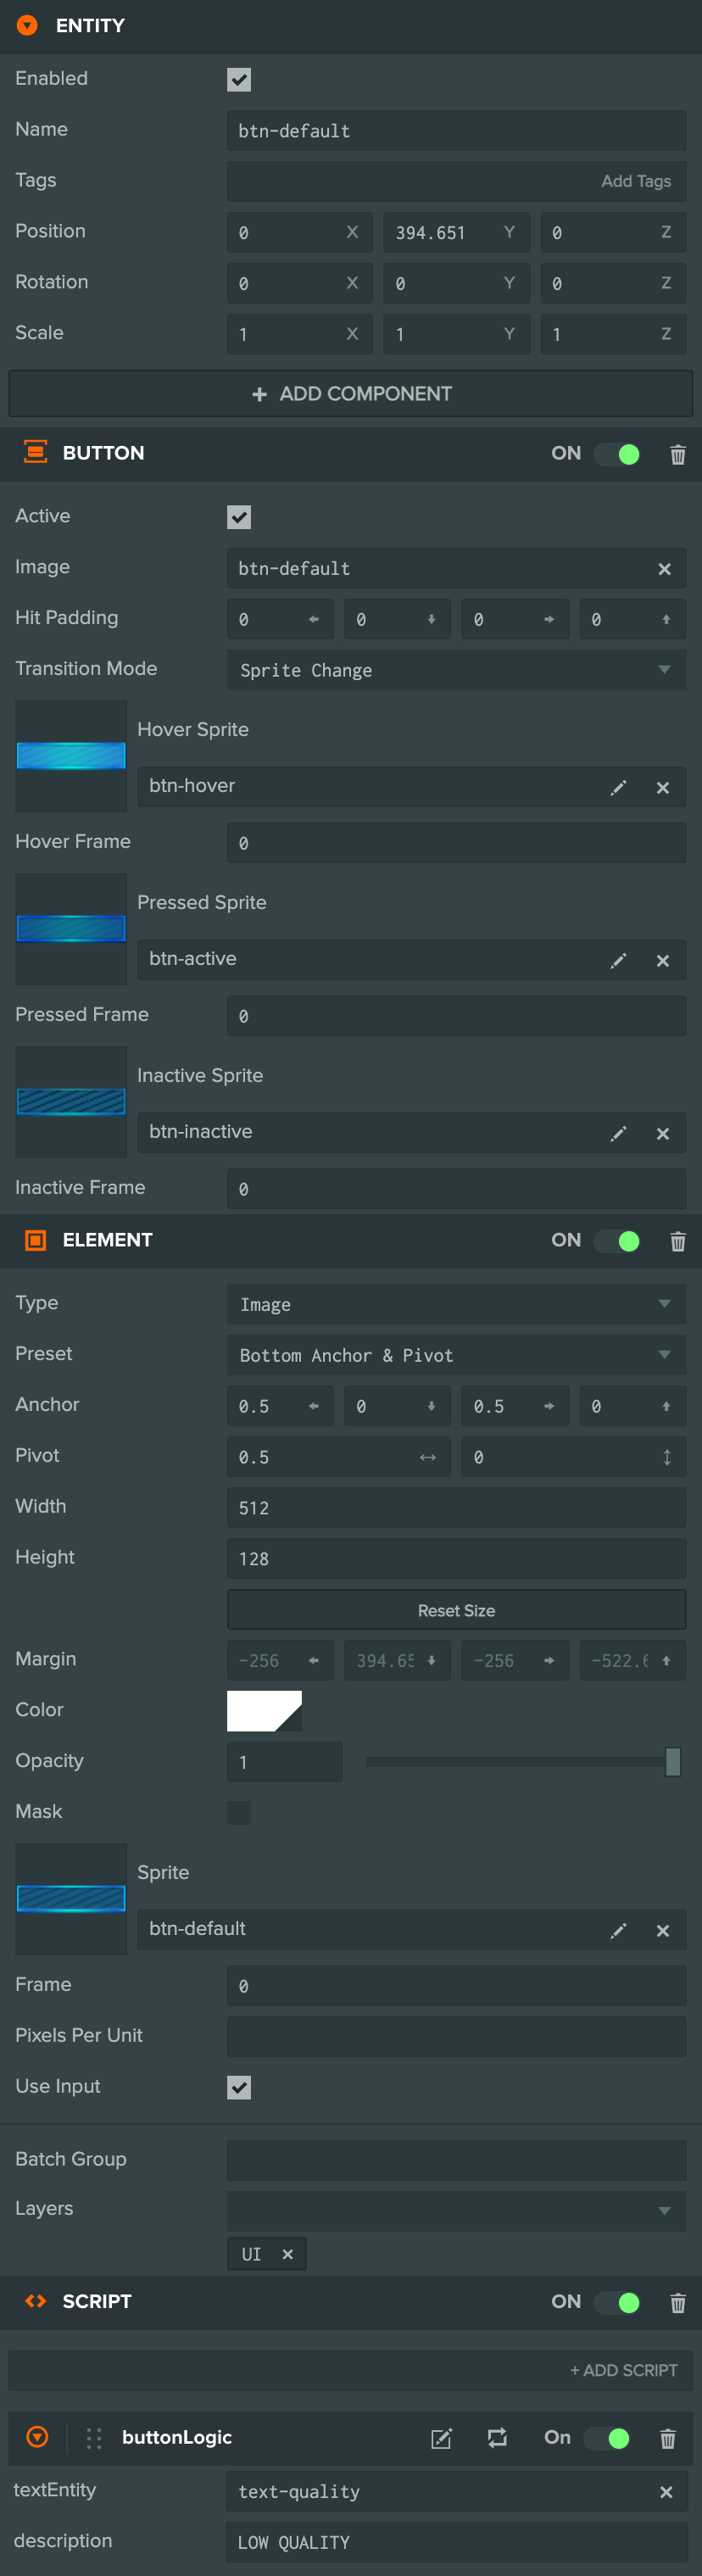
按钮具有三个组件:
- Element 组件:相对于父级 Screen 定位并渲染按钮界面。
- Button 组件:处理用户交互时按钮的外观。
- Script 组件:监听 Button 组件事件,并处理点击后的逻辑。
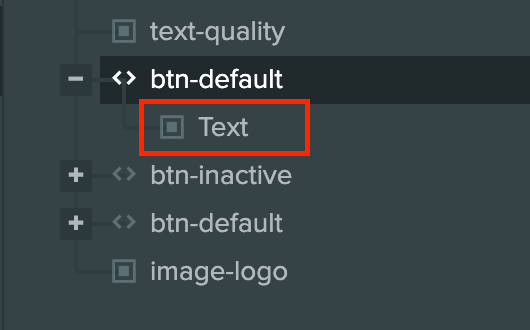
按钮实体还有一个 Text 元素子级用于显示文字,是否需要取决于按钮样式。
Element 类型为 Image,锚定在屏幕底部。
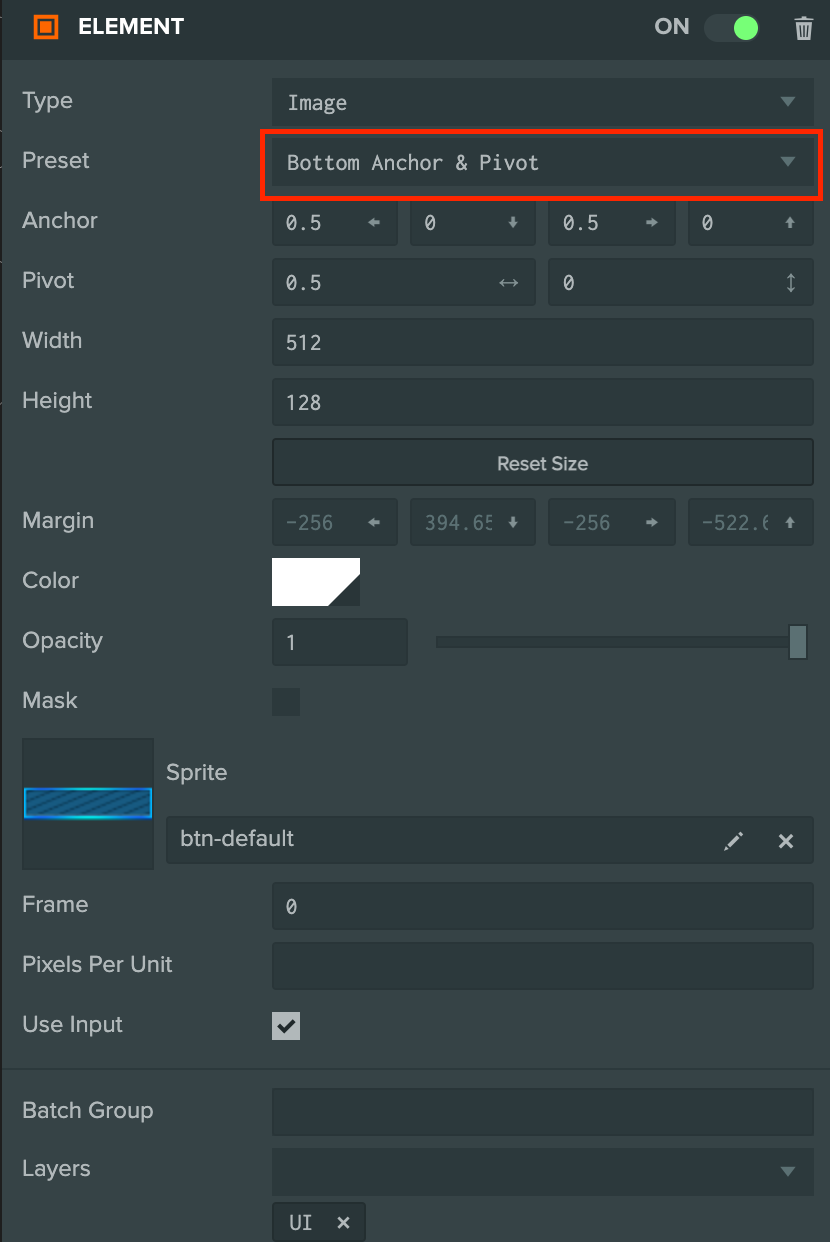
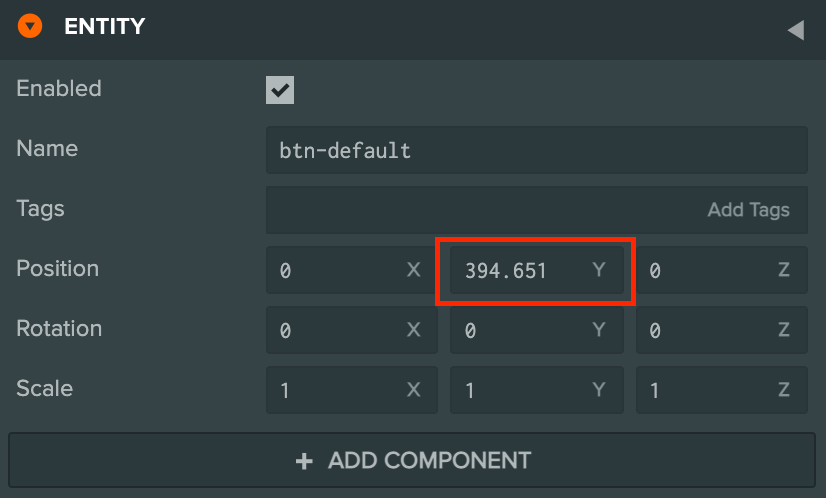
设置锚点后,将按钮向上移动一些,使其与底部保持间距。
同时启用 Use Input,允许与按钮交互。
根据交互改变按钮外观
可以为以下用户交互状态设置不同外观:
- Hover(悬停):鼠标光标位于按钮上。
- Pressed(按下):用户正在按下按钮。
- Inactive(非活动):按钮处于非活动状态。
这可通过两种 Transition Mode(过渡模式)实现:
颜色着色
为不同状态设置按钮颜色,是提供交互反馈的最简单方式。项目中 High Quality(高画质)按钮配置如下:
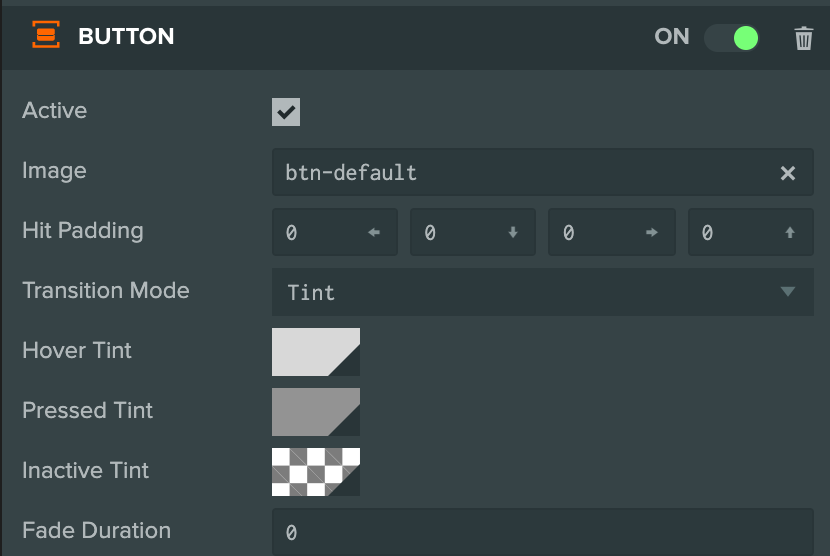
效果如下:
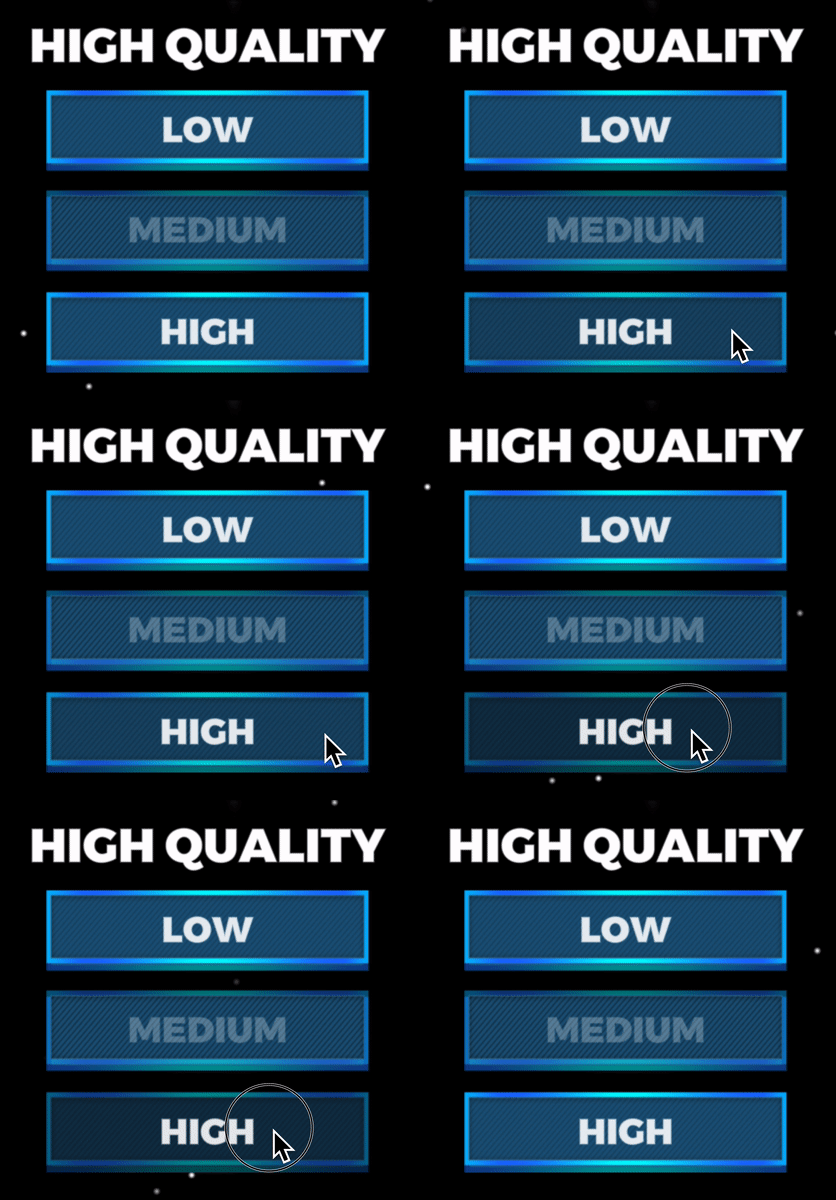
更换精灵
也可以为各状态设置不同精灵图像,适用于需要改变按钮形状或表现按钮压入屏幕效果的情况。Low Quality(低画质)按钮配置如下:
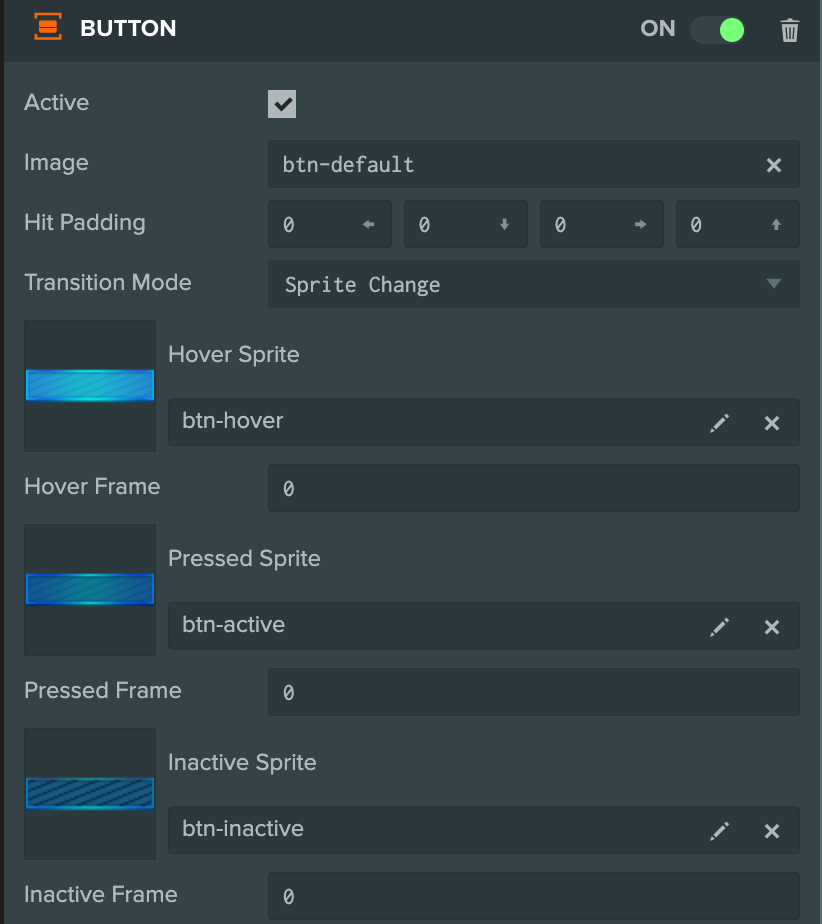
效果如下:
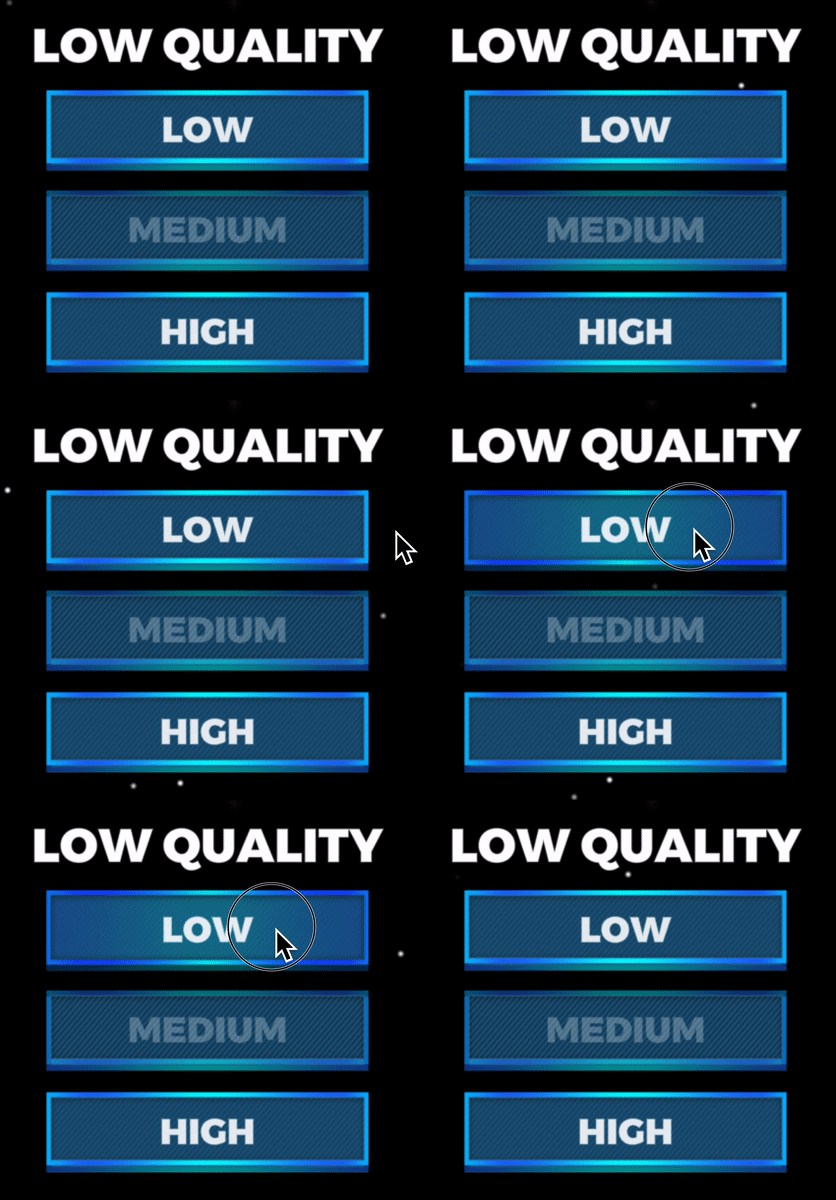
按钮事件
项目中的脚本监听按钮点击,并将界面文字更新为用户选择的画质设置。
- ESM
- 传统脚本
import { Script } from 'playcanvas';

export class ButtonLogic extends Script {
    static scriptName = "buttonLogic";

    /**
     * The entity that we want to update when the button is clicked.
     *
     * @attribute
     * @title Text Entity
     * @type {Entity}
     */
    textEntity = null;

    /**
     * @attribute
     * @title Description
     * @type {string}
     */
    description = null;

    initialize() {
        this.entity.button.on('click', (event) => {
            this.textEntity.element.text = this.description;
        });
    }
}
var ButtonLogic = pc.createScript('buttonLogic');
ButtonLogic.attributes.add('textEntity', {
    type: 'entity',
    description: 'The entity that we want to update when the button is clicked'
});
ButtonLogic.attributes.add('description', {type: 'string'});

// initialize code called once per entity
ButtonLogic.prototype.initialize = function() {
    this.entity.button.on('click', function(event) {
        this.textEntity.element.text = this.description;
    }, this);
};
此脚本挂在场景中的按钮实体上。
Button 组件的 click 事件可以注册回调,同时支持鼠标和触摸输入。
this.entity.button.on('click', function(event) {
    this.textEntity.element.text = this.description;
}, this);
还可以监听 mouseenter 和 mouseleave 等事件,完整列表见 API 文档。
只有在 Element 组件启用 Use Input 时,这些事件才会触发,请确认已在检查器中勾选。